How To Replace A Socket Cover
To replace a socket cover, the first step is to find out the model and installation hole spacing of the junction box in the wall. The most important point: don’t tell me “just turn off the light”. you must use a non-contact measuring pen to confirm the power failure. this thing is your amulet. When removing the old panel, check the wiring in the box for charred or loose. If you are in the environment of kitchen, toilet or industrial workshop, you must choose the panel with waterproof grade up to standard. Finally, don’t be lazy about tightening the screws. Poor contact caused by vibration is the number one killer of electrical failures.
Step 1: Preparation: Confirmation Of Specifications Is The Last Word
Don’t just rely on your feelings before buying a new panel. Take a ruler to measure the distance between the holes. The standards in different regions are quite different. How to install the holes behind you? In addition, to confirm whether the wall is a cassette or an open box, the panel style must match. I often say that it is qualified to fit tightly. Leaving a gap is not only ugly, but also leaving a back door for dust and water vapor.
Step 2: Electrical Safety: Must Be Personally Verified
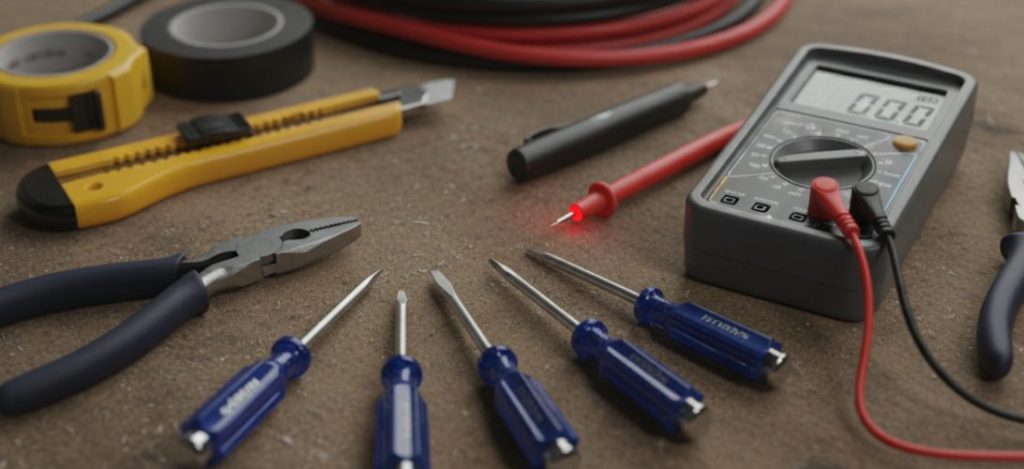
Visual inspection is the least reliable in the electrician industry. Cut off the power supply: go to the distribution box to find the corresponding air switch, must be pushed to the “OFF” position. Test verification: This is the most critical line of defense. Take the measuring pen close to the socket and start work without calling the police.
Step 3: Check: Don’t Let The Inside Of The Junction Box
After the panel is disassembled, don’t rush to install a new one, first glance at the wiring inside. Check for signs of overheating: if you smell burnt smell, or see plastic parts discoloration and wires blackening, it means that the circuit is overloaded for a long time and must be paid attention. Check the tightness of the terminal: lightly shake the wire at hand to see if it is loose. Loose joints can create arcing, which is the culprit of fires. If the wire shows signs of aging, don’t hold on, and find a certified electrician to deal with it.
Step 4: Waterproof And Protection Should Be In Place
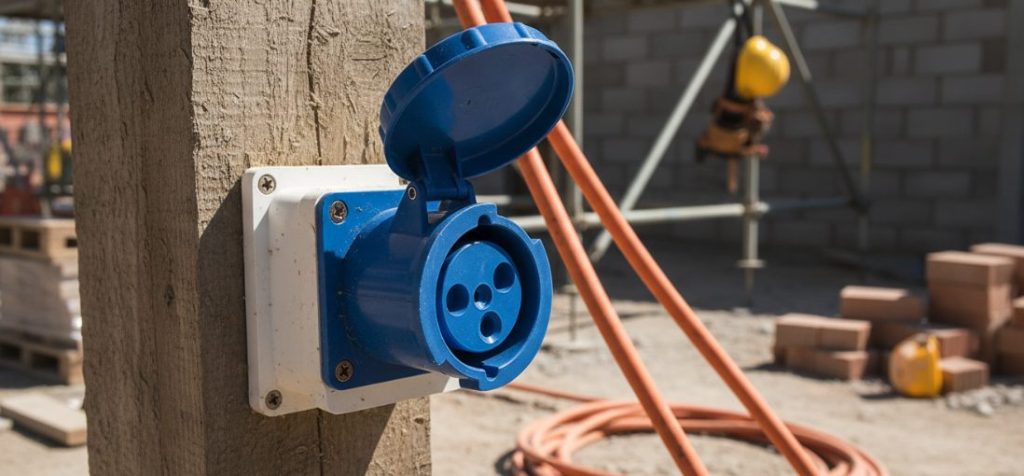
The environment is different, and the selection criteria are also very different. In wet environments (kitchens, bathrooms, garages) or industrial areas, ordinary panels simply cannot carry it. Moisture management: must use a good sealing panel, to prevent water vapor into the internal caused by short circuit. Industry standard: In industrial environments, it is important to ensure that the protective cover meets local electrical compliance, such as NEMA ratings. This layer of protection is not only dust-proof and splash-proof, but also greatly extends the service life of the socket.
Step 5: Installation: Screws Must Be Screwed In Place
At the end of this last step, don’t think it’s as simple as screwing a screw. Ensure a tight fit: the panel must be close to the wall. If there is a gap, foreign bodies and bugs can easily get in. Seismic treatment: If it is in the area of frequent vibration, the screw is easy to loosen after a long time, which is the source of electrical failure. If the environment is really big vibration, it is recommended to add a spring washer or special anti-loose parts.
Author: Mike Thompson
I have spent over 11 years working as a licensed electrician. Throughout my career, I have seen firsthand how small mistakes during simple home repairs can lead to major electrical hazards. My mission is to share practical, professional-grade safety tips to help homeowners handle basic electrical tasks confidently and correctly.